Adding a reference field to a table
Hereby a step-by-step procedure on how to create an additional reference field into a table (for example Call_Req). Including the creation of all necessary views.
- Start 'Web Screen Painter'
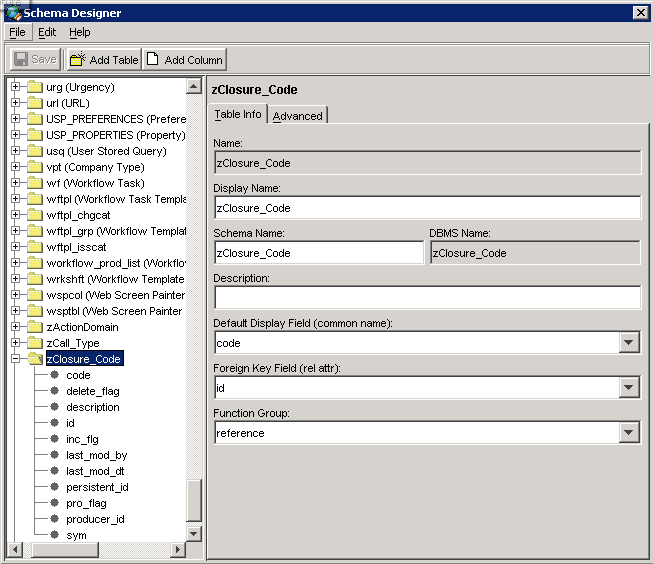
- Go to Tools - Schema Designer
- Press 'Add Table' and give the name of the table (in our case Closure_Code)
- Enter each column, by one by pressing 'Add Column' and providing necessary information.
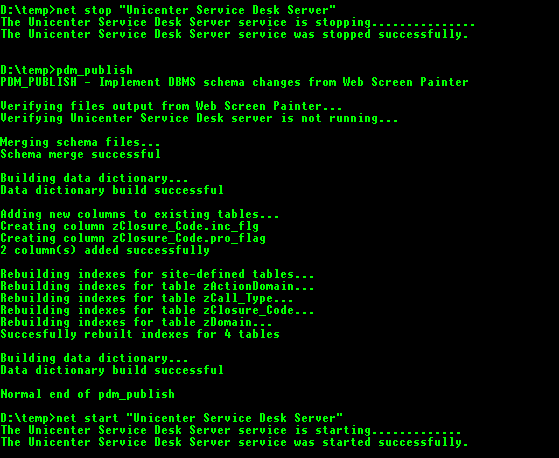
- Go to File - Save and Publish. Leave the program and open an DOS-box.
Launch the following commands to create the table
- Start 'Web Screen Painter'
- Go to Tools - Schema Designer
- Select the table in which you want to add your reference field (in our example cr)
- Press 'Add Column' and provide necessary info. Repeat this for each column you want to add.
- Repeat step 5
- Start 'Web Screen Painter'
- Go to File - Open
- On 'Open Form' select the interface (Analyst), formgroup (default) and filename (detail_in.htmpl)
- Add the new field on the layout.

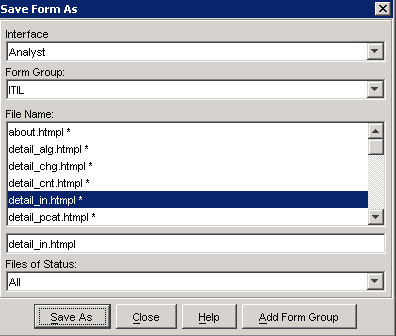
- Go to File - Save as
- Select same as in point 13 but with the difference that you select 'ITIL' as formgroup.
- Go to File - Publish
Now you can use the field inside the webpages. Filling of this reference data can be done in 2 way's.
The first is using 'PDM_Load', which allows you to enter this from command line in combination with a well structure text file.
A second way is of course by creating the necessary webpages for this.
Example of a text file for uploading the reference data:
TABLE zClosure_Code
code delete_flag description inc_flg pro_flag
sym
{ "BF.Access Granted" ,"0" ,"BF.Access Granted" ,"1" ,"0" ,"BF.Access Granted" }
{ "BF.Access Modified" ,"0" ,"BF.Access Modified" ,"1" ,"0" ,"BF.Access Modified" }
Creation of the webpages through 'Web Screen Painter'
- Start 'Web Screen Painter'
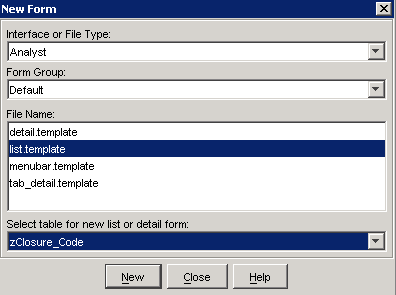
- Go to File - New
- Select the 'list.templete' and the table on which is should work
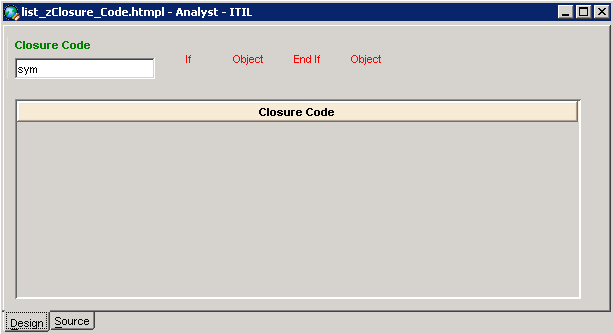
- Modify the screen layout
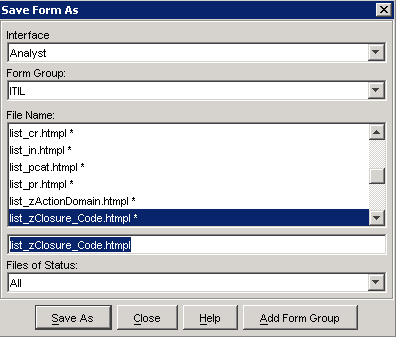
- Go to File - Save As
Select the correct form group and press save. (Important not to change the form name as mentioned)
- Repeat from step 2 until 5, but this time you select a 'detail.template'.
Now you need to be able to reach these pages through regular pages:
- Login into the tool through webpages
- Go to Administration
- Unfold Service Desk - Application Data - Codes
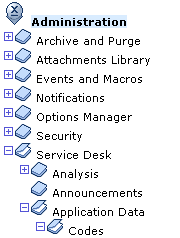
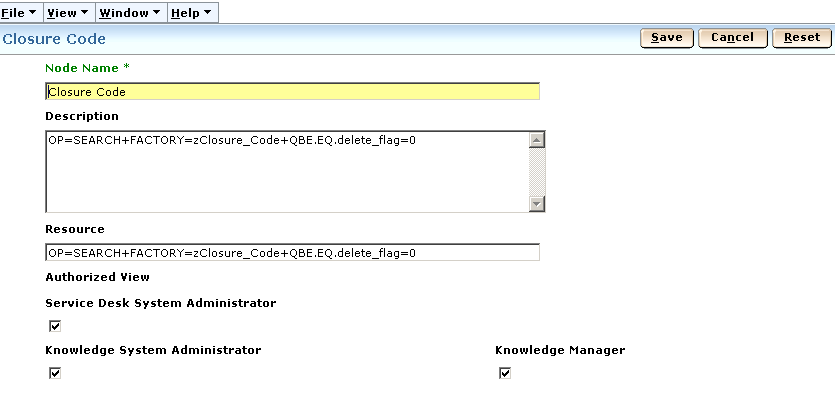
- Right click 'Codes' and select 'Create New Node'
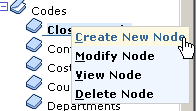
- Provide the necessary information and press 'Save'